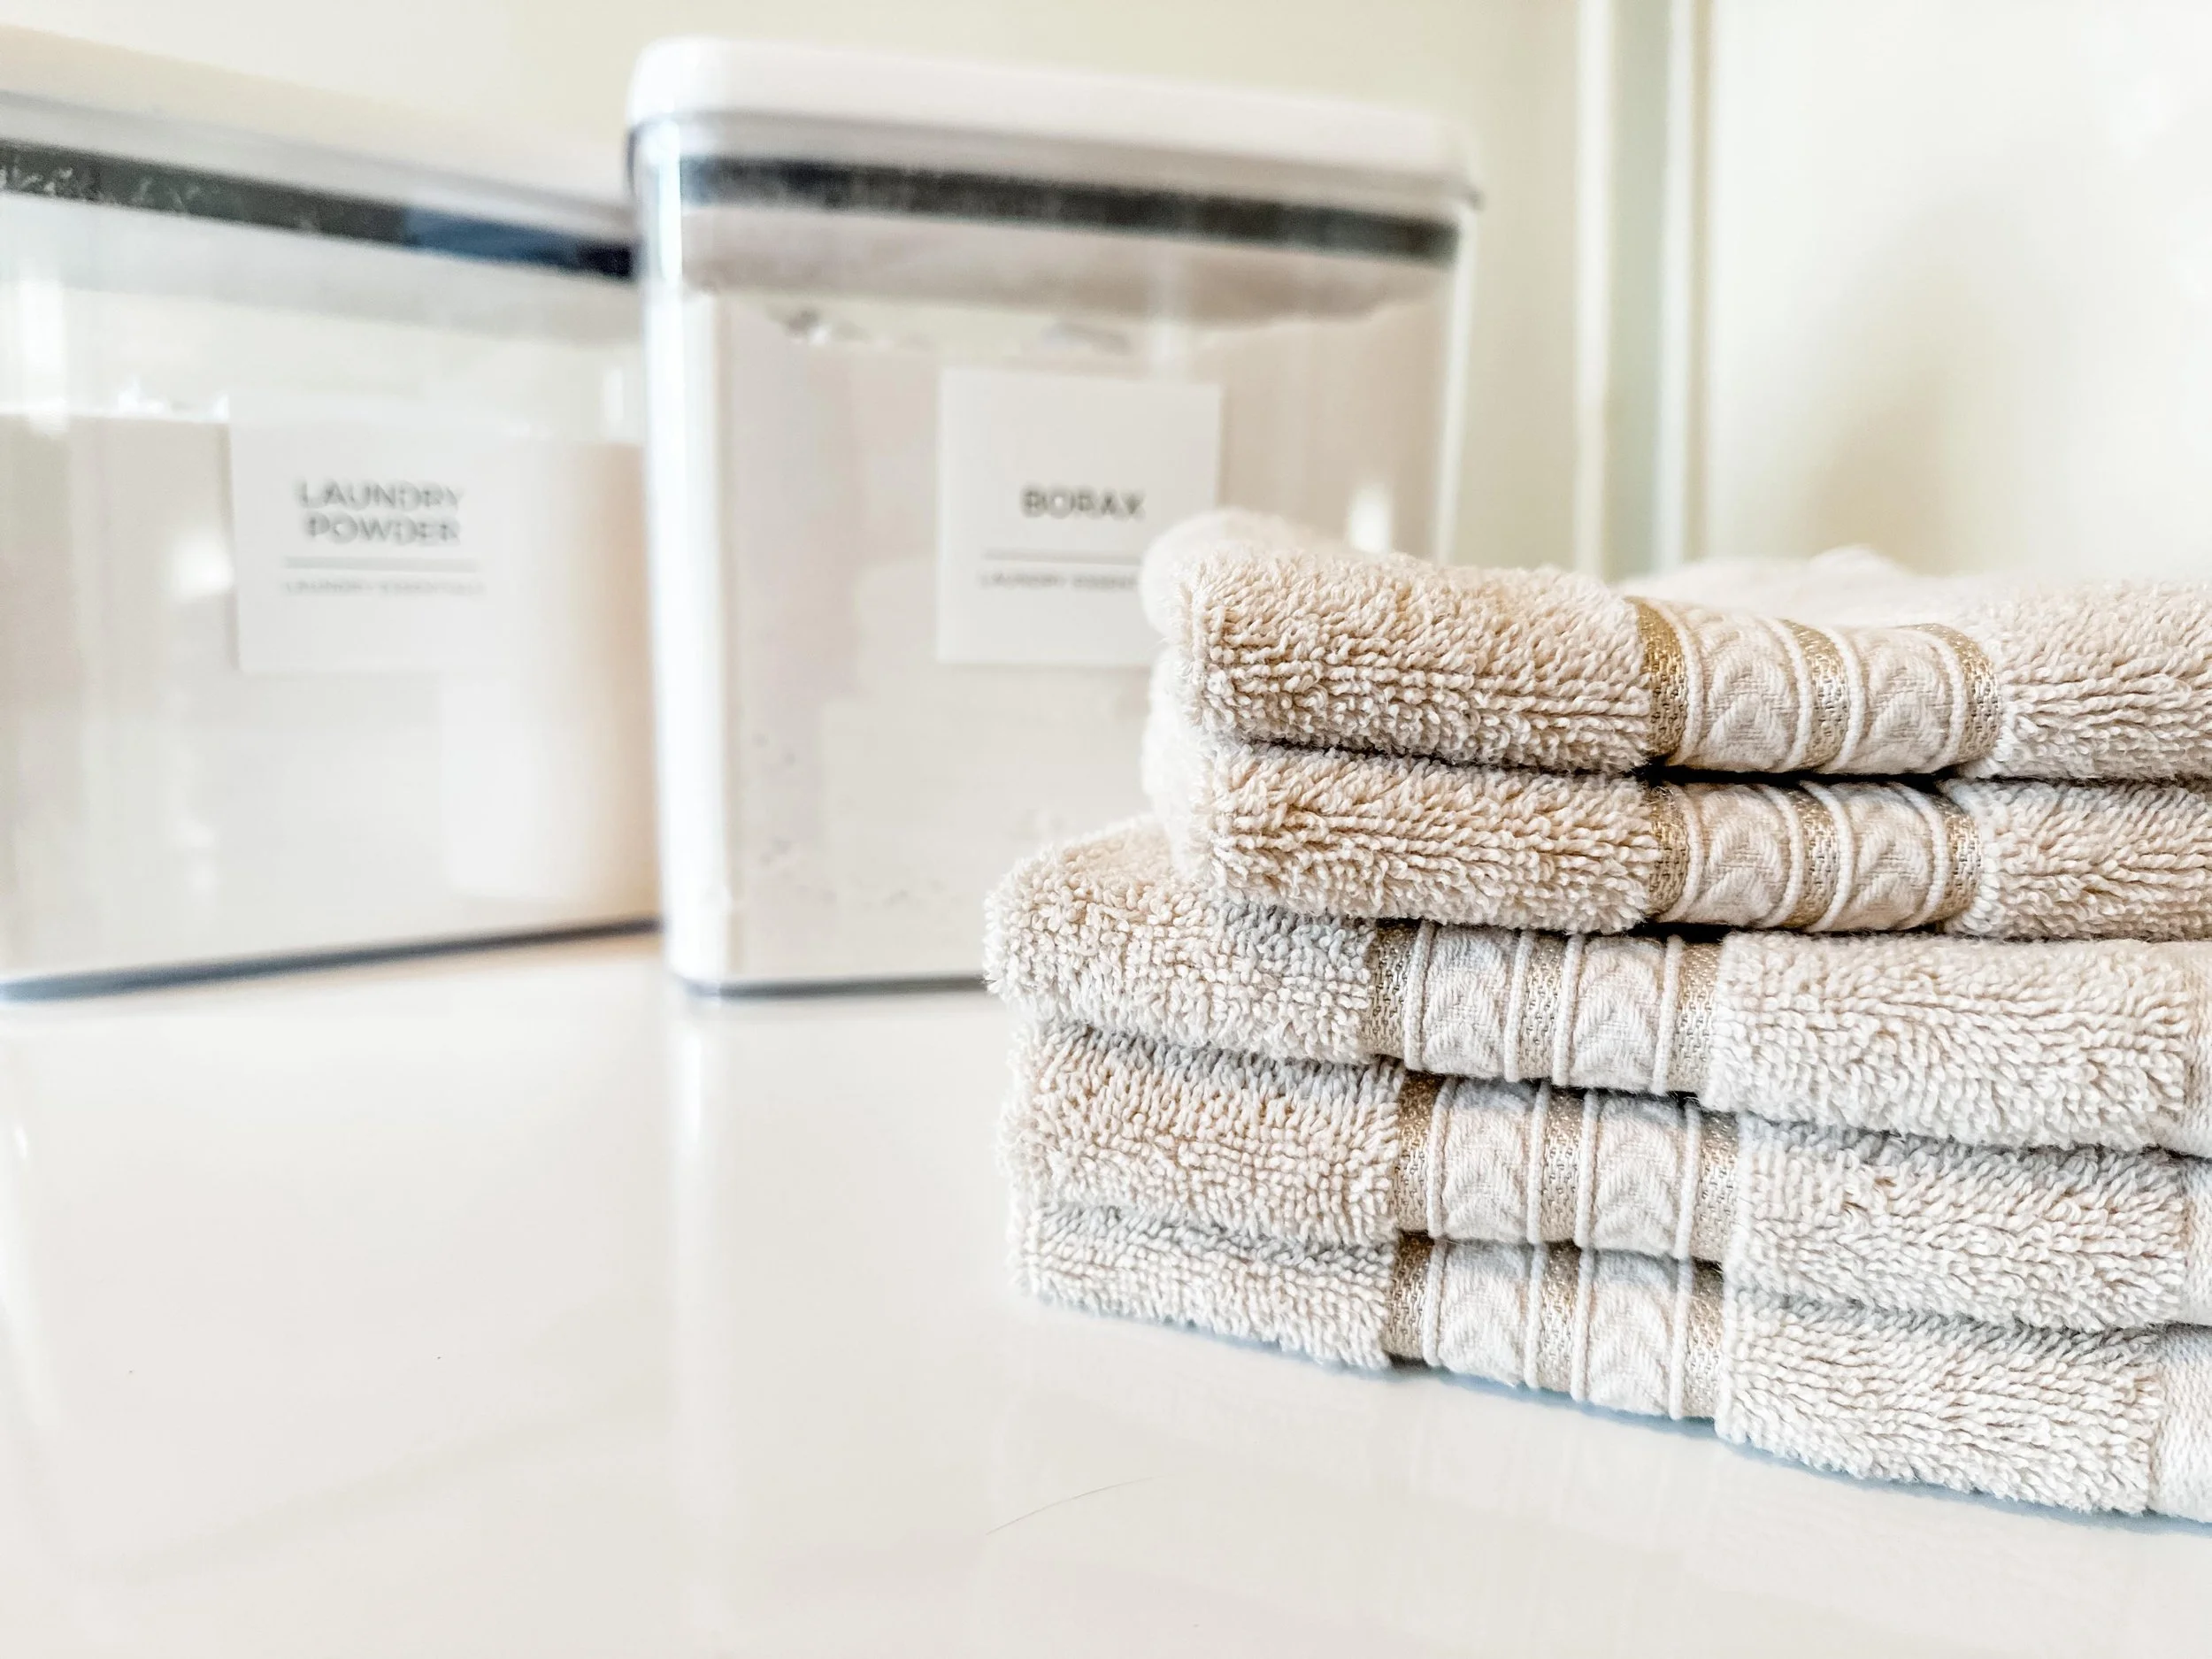
Laundry Stripping 101: Everything You Need to Know
Disclosure: This post may contain affiliate links, which means I may receive a commission if you purchase through my links, at no extra cost to you. Please read our full disclosure for more information.
Have stubborn build-up on a dish towel? Wonder why your bedsheets don’t seem as clean and crisp as they once were? Even after throwing these items in the wash over and over again, they just don’t seem to get fully clean. That’s where laundry stripping comes in!
I discovered laundry stripping about a year ago and was excited to give it a try! After all, I do love a good before and after transformation. One of the first things that I laundry stripped were pillowcases that just didn’t seem to get fully clean - even after repeated washes. After some light research, I found that laundry softener could be one of the reasons why stubborn soil has such a stronghold on fabric. Determined, I was ready to bring these pillowcases back to life! So, I gathered a few materials, found a laundry stripping recipe, and got to work.
Whether you have a pile of laundry that’s craving a deep refresh or you have pieces set aside waiting to be revived, we have a step-by-step guide on laundry stripping to help bring your laundry items back to life!
What is Laundry Stripping?
Laundry stripping is the process of soaking clothing or other fabric items in hot water and stripping agents over a period of time to achieve a deep clean. This process helps to remove trapped dirt, fabric softener build-up, body oils, and hard water minerals that have collected on your laundry over time.
How to Laundry Strip
To begin laundry stripping, you’ll need a few different materials. The “recipe” is simple and you may already have some of the materials in your home.
Materials
Laundry Stripping Recipe
Please keep in mind that our “recipe” is meant for stripping a small to medium-sized load of wash. If you’re stripping a large-sized load of wash, then we recommend doubling the recipe.
After gathering the necessary materials, you’ll want to decide where you are going to laundry strip your textiles. If you have a bathtub in your home, this makes for an ideal place to laundry strip. Don’t have a bathtub? Don’t fret! I don’t have one either. Thankfully you can also use your washer! We will outline how to laundry stip with both methods.
Laundry Stripping Directions - With a Bathtub
Have a bathtub or prefer to laundry strip this way? These directions are for you!
First, you’ll want to make sure that your bathtub is nice and clean. Once it is clean, plug your drain, and fill up the tub with hot water. The hot water is critical in getting your laundry as clean as possible.
Next, you’ll want to add ⅓ Cup of Borax, ⅓ Cup of Washing Soda, and 1 Laundry Detergent Pod to the hot water.
With gloves on, swirl the mixture to ensure that everything has dissolved.
Next, add your laundry that needs to be stripped. Make sure that all of the textiles are fully submerged in the hot water.
The next step is to wait. Laundry stripping takes time - but trust me, it’s well worth the wait! Every 2 hours, you’ll want to stir everything around. Each time you check in on your items, you’ll notice the water changing color - oftentimes from clear to grey to deeper shades of grey. It’s both satisfying and shocking to see what can be removed from your seemingly “clean” laundry, or the stubborn dirt that magically lifts from your fabrics. After about 6 hours, the process is complete!
You’ll now want to drain the water from the tub.
When all of the water is drained, fill up the tub with warm water and give your laundry a good swish to remove any residual residue.
Again, drain your tub and begin wringing out your laundry by hand to get the water squeezed out.
Transfer your laundry to the washer for a rinse cycle. This should help to remove any additional residue or cleaning agents from the items.
Once the cycle is complete, dry as normal.
Laundry Stripping Directions - With Your Washer
When you’re laundry stripping with your washer, the process is quite similar to using a bathtub, but your washing machine acts as the tub - how convenient! This method may require seeing what kind of settings your washing machine has. I know, for me, I had to get acclimated with my washer settings (and whip out the manual - how scary haha) to figure out how to laundry strip with it. Luckily, it turned out to be quite simple! Long story short, you’ll be using your washing machine’s “soak” setting or pausing your machine mid-cycle if your machine doesn’t have a “soak” setting.
First, you’ll want to add some hot water to your washing machine. Some models allow you to fill up your basin while the lid is open and others do not ( likely a safety feature). If your machine does not allow you to add water with the lid up, then start a laundry cycle with hot water without adding your laundry to the machine.
Once your basin has at least 4 inches of water in it, you’ll want to add your laundry stripping agents. For washers without soak cycles or washers that do not allow you to have the lid open while filling the basin, go ahead and pause the cycle. After pausing, add your laundry stripping recipe - ⅓ Cup of Borax, ⅓ Cup of Washing Soda, and 1 Laundry Detergent Pod to the hot water. The reason why you add these after hot water has been added to the machine is so that the powder agents do not cake up at the bottom of your washing machine basin.
After you add your agents, let the washer fill up with more hot water. This is when you may have to unpause your cycle.
After your washer is filled up with enough hot water (or when you hear the water is done being added mid-cycle), this is when you’ll add your laundry items. You may have to pause the cycle again to do this. Make sure that all of the textiles are fully submerged in the hot water.
From here, you’ll want to let your laundry soak. If you’re mid-cycle, just pause your machine. Please keep in mind that many washing machines require you to close the lid when the machine is paused (again, a safety feature). If you’re laundry stripping this way, don’t forget to close the lid. I learned the hard way and as a safety feature, my washer canceled the cycle and started draining.
Now, you’ll let your laundry soak for a total of 6 hours. Make sure to check it every 2 hours. You’ll want to stir around your textiles each time you check in.
After 6 hours, you’ll want to either drain your washing machine basin or unpause your cycle. If you’re draining your basin, go ahead and put your clothes through a rinse and spin cycle. This should help to remove any additional residue or cleaning agents from the items. If you’re unpausing your cycle, let the cycle complete.
Once the clothing is rinsed and spun, go ahead and dry your items as normal.
FAQs
-
It’s important to make sure that you are only laundry strip items every once and a while. Laundry stripping is known to “age” fabric and may break it down over time.
-
Of course! Our “recipe” is intended for stripping a small to medium-sized load of wash. If you’re stripping a large-sized load of wash, then we recommend doubling the recipe.
-
Always make sure to check your garments to make sure that you can laundry strip them. Typically, you cannot laundry strip dark fabrics, workout clothes, and wool.
It’s also a good idea to check the care tags of fabrics. For example, if a garment says to only wash it in cold water, then it’s likely not a candidate for laundry stripping as it requires hot water.
It’s also smart to not mix bright and light colors when laundry stripping due to the possibility of dyes running.
-
Build-up on fabrics can come from a variety of different things. First, you can start by modifying your laundry routine. Try skipping laundry softener, using less laundry detergent, or swapping out your current laundry detergent for another.


